Wow, I haven't posted on here in a LONG time. I've been traveling, and busy with work. Buuuut! I'm back. Woot. Needless to say, I've gone through a bunch of different nails in that time period, so maybe I'll just show you pics of everything I have gone through and then come back and write about them later, if more detail is needed ;)
Let's start with my Father's Day nails! These were special to me, because I really miss my dad. He lives across the world and so I haven't seen him in...3 or 4 years :-/ Scary right? Anyway, I did Sierra Leone flag nails in honor of him for Father's Day.


Then, being super-excited for Eclipse to come out, I went vampy for a good couple of weeks. This is a blatant rip-off of Polish Hoarder Disorder (PHD)'s blog (hers were staggeringly better than mine :) ), but I really loved the look and thought it would be perfect for my vampire-themed pre-Eclipse bonanza. This was a really frustrating look to achieve, because the color had a lot of bleed. I used my Scotch tape trick to cover up the edges, but it didn't work super-well and I had to use nail polish remover on a Q-tip to really carefully clean them up. It didn't fully work on some of them, so I filled in that little gap with nude-looking polish. Oh well, I thought they looked cool in the end!


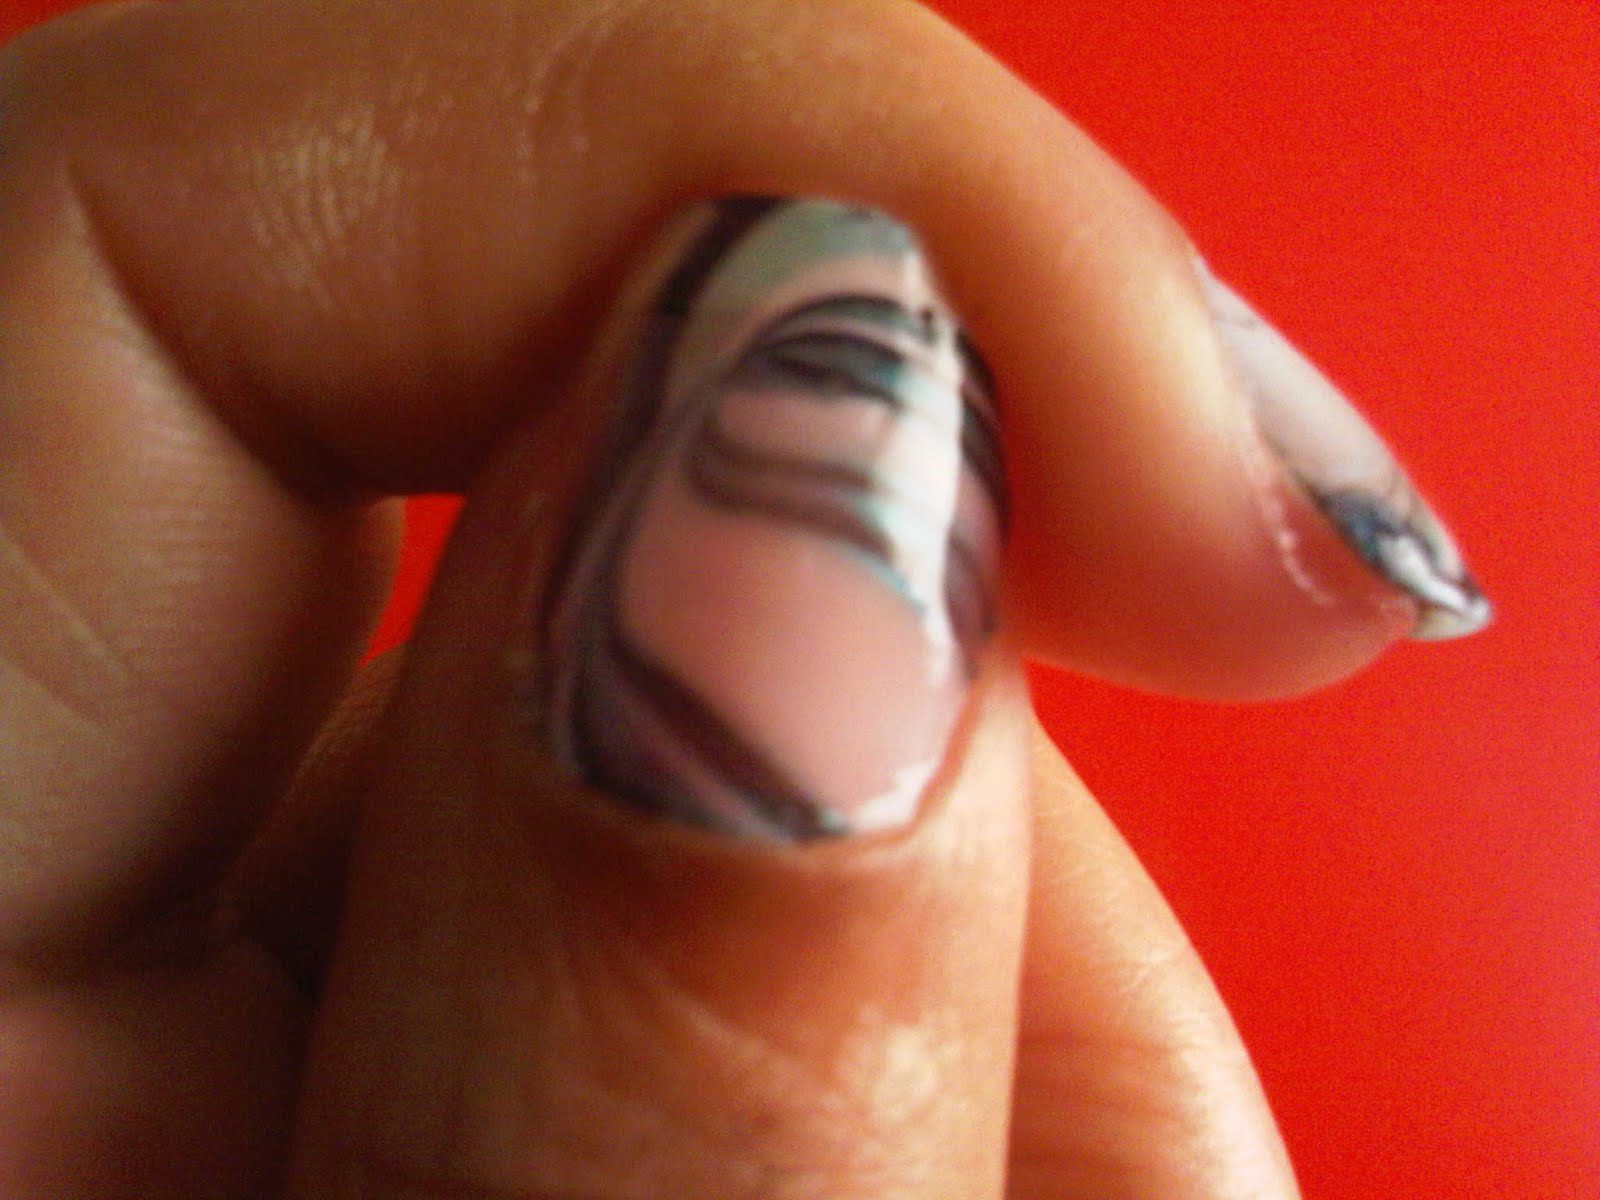
Then I went on to peacock-esque nails! I started these with a totally different look in mind, but they kind of evolved into this. I used light purple on the full nail, then used a dark vampy color to fill in a smaller area. I wore it like that for a day, and decided it needed something more, so I added the mint green color and BAM! They looked MUCH better. Needless to say, it took longer than usual to get this polish off since there ended up being so many layers!


Lastly, I am now at the striped phase! I've been dying to try those Art Deco nail pens and I found a ton of them at the 99 cent store while visiting my mom! I thought stripes would be the perfect test. They turned out great! Definitely a good buy - I know I'll be using them a ton in the future! I've gotten tons of compliments on these. They definitely feel really unique.


Oh! While I was in AZ visiting my mom, she let me do her nails! She's never let me do them before, but after a little convincing - I got to them. I tried using Silk Wraps on them as well, as she is often saying her nails aren't very strong. I haven't used them before, but have really been wanting to test them out. They are VERY cool. And not visible at all if you smooth them out properly. I expected her nails not to chip for a while, but she does dishes a lot, so they chipped after a few days. Sigh. Oh well, I thought they turned out great! I used one of those tiny Sally Beauty Supply polishes. It was a nice color (like a deep red) and then I stamped one of my Faux-nads onto her index fingernails with white.
Hope you enjoy!
P.S. Sorry for the quality of the pics - they were all taken with my phone ;)