Happy Saturday, Everyone! I'm only just writing about these nails now (I painted them like this days ago and they have since changed), because it's been an insanely busy week. Whoops!
It is also my sister's 21st birthday and my 6 year anniversary with my bf Anthony! Yay! :) I'm going to give my sister a special 21st bday manicure and will post pics later. But for now, you get to see my water marbling fun!
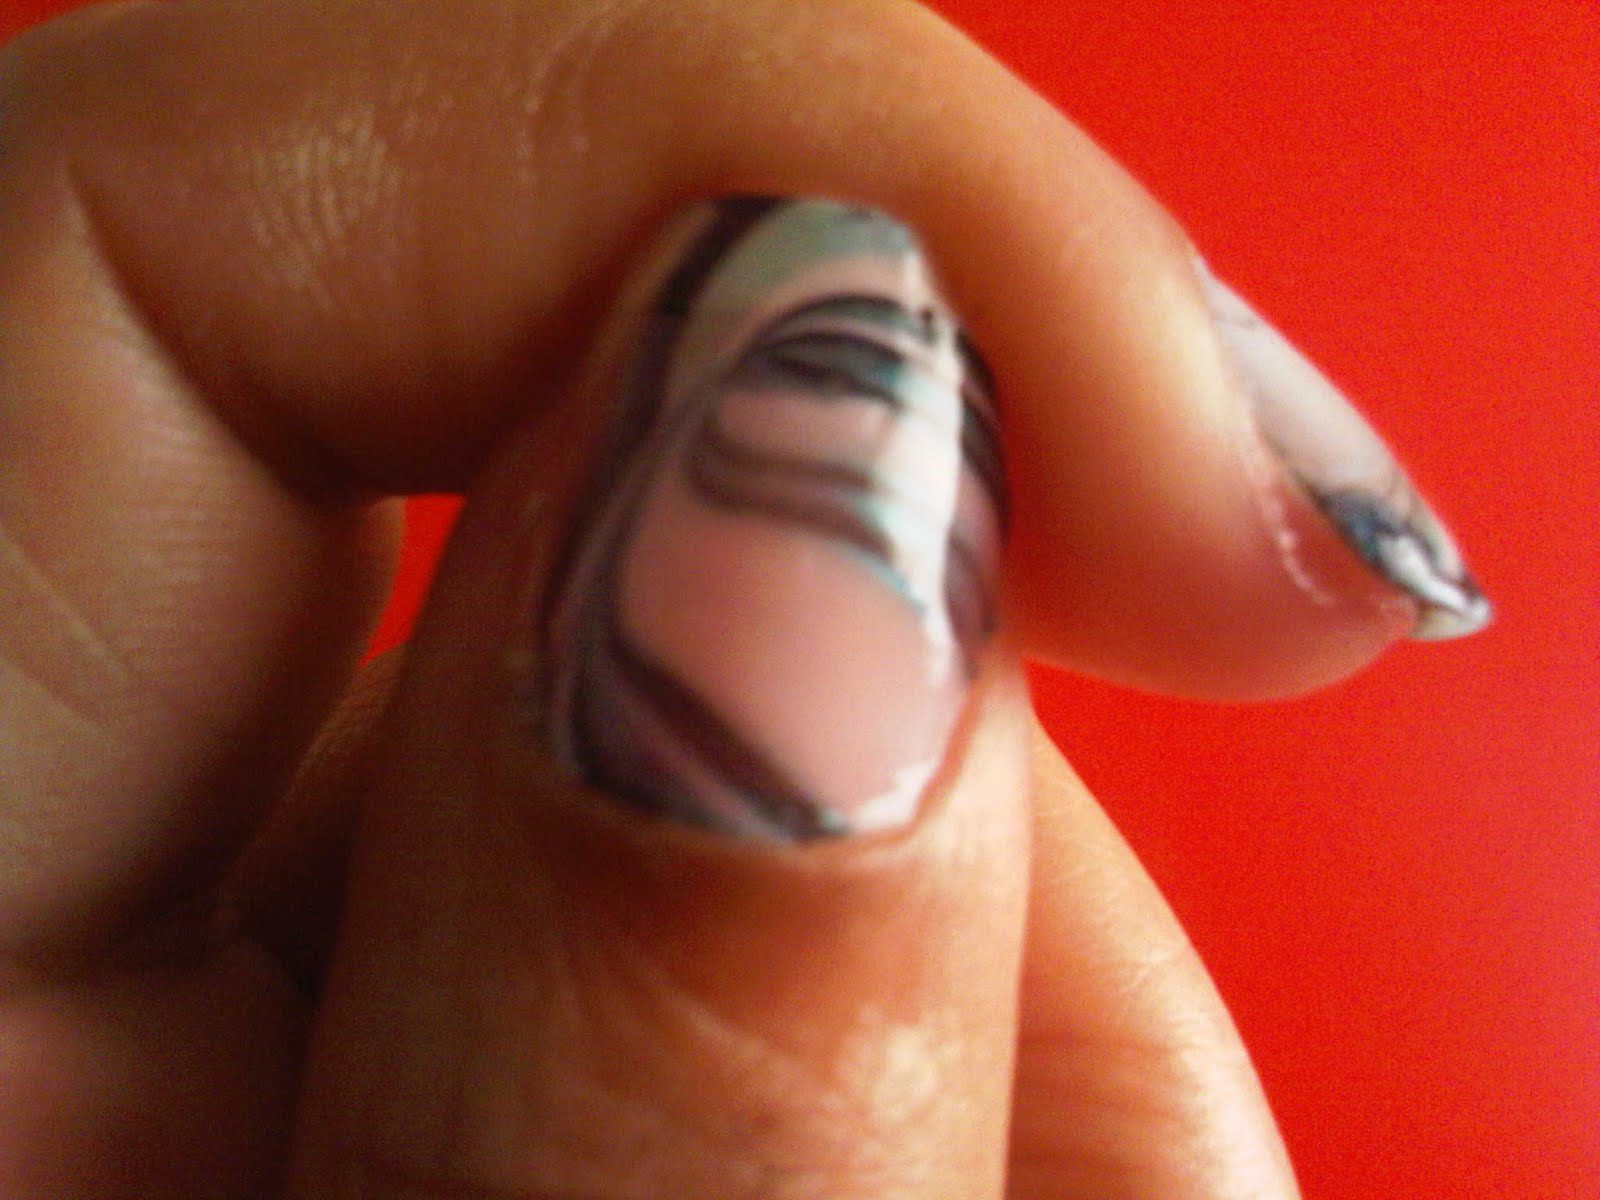
I absolutely LOVE this technique, and highly recommend it for anyone looking to do something truly unique to their nails. Has anyone else tried this before? Would love to hear tips and tricks on it.

First of all, you want to have everything near you when you do this one. You need:
-Cup, Jar, or container full of room temperature water (make sure it is not cold - the polish will dry too quickly!)
-Toothpicks
-Paper towels/cotton balls/etc.
-Desired nail polish colors
-Cuticle oil, scotch tape, or vaseline
-nail polish remover
Prep your nails with a base coat. Once this is done, you want to put the cuticle oil/scotch tape/or vaseline on your fingers outside of the nail. This will help you to clean the excess nail polish off your fingers.

Next, drop your nail polish colors one at a time into the room temperature water. Don't overdo it - a drop at a time is just fine. Pour single drops of each color, one on top of the other, until you have what you want. Take a toothpick and run it through the drops of nailpolish to create a marbled effect.
Here comes the fun part! Take your finger and dip it into the water on the part of the design you like best. Use a toothpick to clear out the excess polish from the jar, and remove your finger - Voíla! Marbled nails! Use your polish remover to get any extra stuff off of your fingers ;)
Apply a top coat and you are set! Enjoy!