Wow - took a bit of a break from writing anything as you can see. I've been extremely busy, and extremely exhausted :( I had so much energy there for a while but for whatever reason I now feel...defeated? Wrecked? Something...
I can't believe my sister is 21 now. I feel so old! Anyway, we had so much fun while she was out here in LA for her birthday! I think it was just right, as far as 21st birthdays go. Besides, I'm too over the hill now to really rage like a 21 year old ;) j/k. At midnight on her birthday, we took her to this bar called Busby's down the street (what we thought was a sports bar but turned out to be a full-on club) for a birthday shot. Keep in mind, Anthony and I had been drinking wine all night. She got in for free since it was her bday (woot!), and we went straight to the bar. She had a birthday cake shot an Anthony and I had tequila shots. Then, I don't know what possessed us but then she and I had Long Island Iced Teas and Anthony had a Gin & Tonic. Sigh. Needless to say, we did not go gently into that dark night.
We woke up the next morning hazy and tired, so we then went to get breakfast at the place that has the best pancakes in the u.s. (literally), Du-par's. My sister took a nap all afternoon, then we watched a Bridezillas marathon - how is that show so addictive?? Since it was her actual birthday, we did go out to the Sunset Strip, but we only had a glass of wine each. But, she was able to see our favorite lounge out here, Boa, and then we took her to Saddle Ranch to see some crazy drunk people fall off the mechanical bull. Good times.
This was the same day as our 6 year anniversary! Anthony got me the prettiest bracelet, as well as a box to put my jewelry in (I'm kind of a mess). I <3<3<3 it! All-in-all, despite the fact that we were all hungover, we all had a great time!


On to the most important part of all - the nails ;) I gave my sister some special 21st bday nails - martini glass manicure! I was jealous that she got to have the fun nails ;) I did 2 colors - white on one half and blue on the other. Honestly, it's been so long that I don't even remember the names of the colors I used - I think they were both Essie. Then, I used my handy Sally Hansen Nail Art Pen to draw the martini glasses. Lastly, I added a tiny green dot for the olives in the middle of the glasses, and finished up with a handy-dandy top coat. Hope you like them!


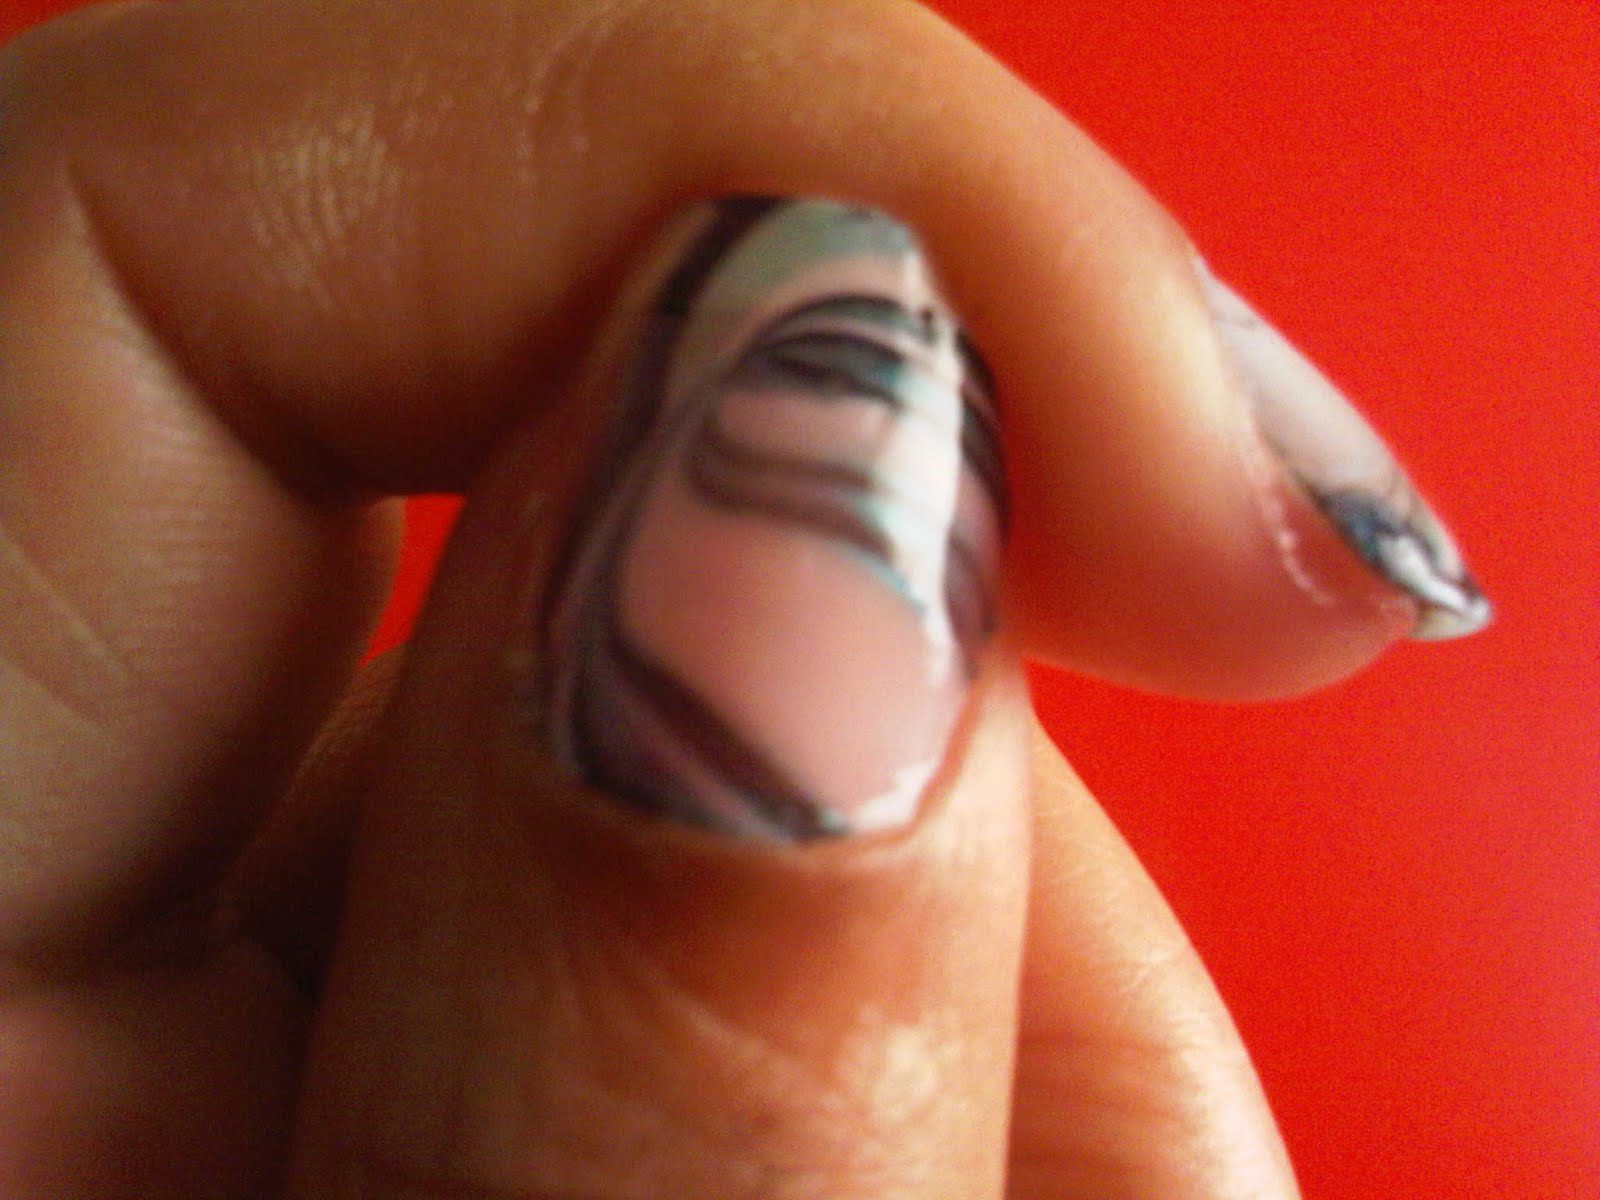
Mine were a new experience for me. Matte nail polish is all the rage, but I've never tried it. You'll know exactly why I got this polish when you see the bottle - it's like a tiny little paint can! Super cute! AAAAnyway, when you use a matte polish, you can't use a base or topcoat - this was tough for me, because I always use my 'Hard As Nails' polish as my basecoat. Oh well. So, I used the matte polish and I must say - I'm really intrigued with the look of it! It's so different and unique. Of course, I never have simple nails, so I had to add more to them. I used this light blue color from Essie that I just looove to make tiny round shapes to fill in the top part. I don't know how to explain that, but I'll let the pictures explain for themselves. Enjoy! :)


I'll be back later on to go through the other nail looks I've failed to post on here in my absence!
 It's summer! Why not celebrate it by eating some fresh fruit, hanging out by the pool/ocean, and having some good 'ol fun? I'm quite the homebody myself, but I do enjoy the things that summer offers! Therefore, I decided to go for some watermelon-themed nails! Can't get much more summery than that, right?
 How I did it:


 As you can see, you just put the reinforcement label where you want it, paint over your nail and let it dry, and BAM! All fanci-fied! Remove the label, put some top coat on, and you're set. In my case, I didn't let the undercoat dry quite long enough so I had to go in and make a couple of touch-ups. I've tried this since then, though, with that in mind, and it worked like magic.


 Hi everyone!